Steps to Complete a Form:
Step 1: Add a New Form
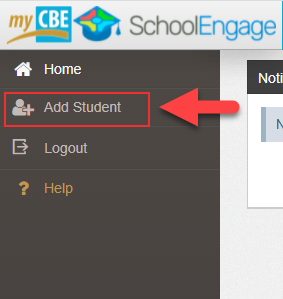
- Click on
Students.
- Select the
student’s name.
If you do not see the student’s name, click
Add Student. If you need help with this process see
Add Student.
- Once a student is selected, SchoolEngage displays the
Student page. The page contains a Forms section.
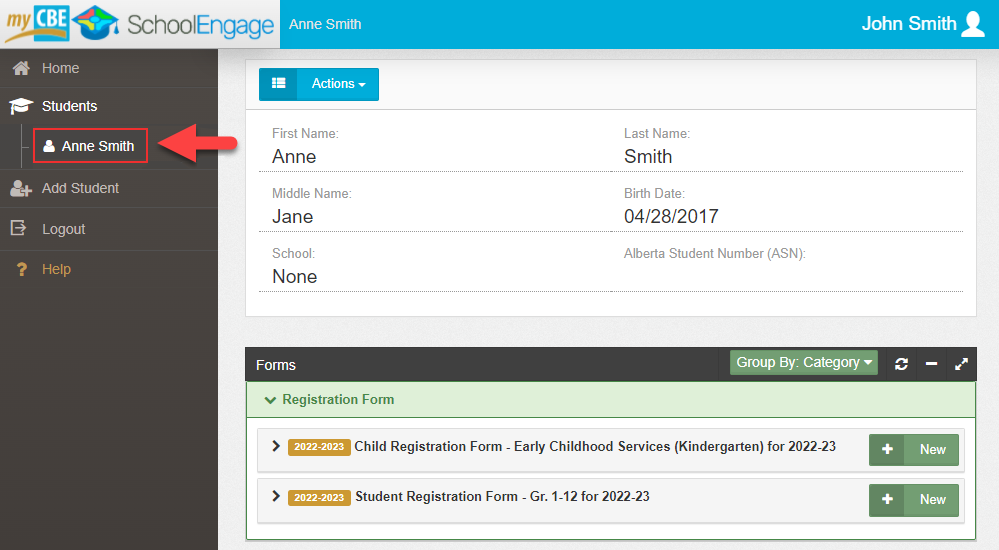
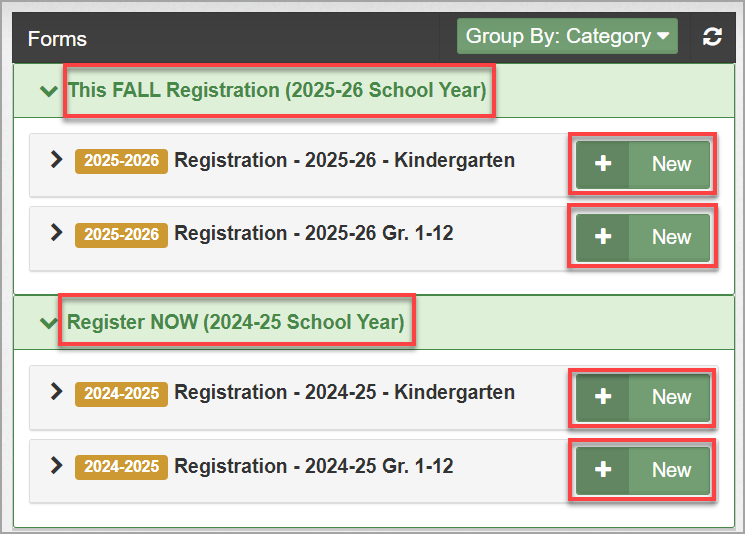
- In the
Forms section, click the
New button next to a form name to start a new form for the student.
Step 2: Entering Form Information
When the form opens, begin entering information.
- Required fields are bordered in red and cannot be skipped.
- Fields with specific format like a date will display a hint.

Important | Required fields must be completed before you can go to the next step.
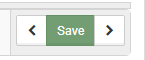
Once completed, use the
Next > button to advance to the next page. The changes will be automatically saved.

Use the
Save button to save all your changes and finish the form at a later date.
The
STEPS display your progress.

Step 3: Uploading a Document
Certain forms require documentation to be uploaded before they can be processed (e.g., proof of address, copy of a child’s birth certificate). A digital copy of the document can be uploaded into SchoolEngage.
Note | attaching required documents may expedite processing of the form.
Digital Document
To create a digital document, take a photo or scan then save the file to your computer / device*.
*Some devices like smartphones have a scanning feature/application.
Acceptable Formats
The uploaded document(s) must be in a JPG, PNG or PDF format only.
Instructions
- Select
Yes to begin the upload process.

- Click the
Upload Required button.

- From File Category dropdown, select the document type in the list (e.g., Canadian Birth Certificate).

- Drag and drop the document onto the
Drop Files Here area or
Browse to locate and upload the document from your computer / device. Once the document is uploaded, it will be visible in the
Upload Files area.

To add another document, repeat the steps above. If the uploaded file does not meet certain criteria (e.g., clarity, valid expiration) the school will request that the legal guardians / independent students book an appointment to provide these documents in person. See “Step 8: Add Documents after Form Submission” below.
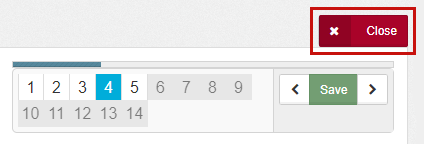
Step 4: Save a Form
- Information is automatically saved as each step is completed. Completed pages will turn white in
STEPS.
- A form can be started and completed later, by using the
Save button.
- A blue completion status bar is displayed at the top of the page:

Step 5. Close and Open a Form
To leave a form at any time, click the
Close button.
To open a saved form, go to the
Students menu and select the student name. The student forms will appear. Click the form name to expand the form information then click the
Open button (blue form) to re-open the form.
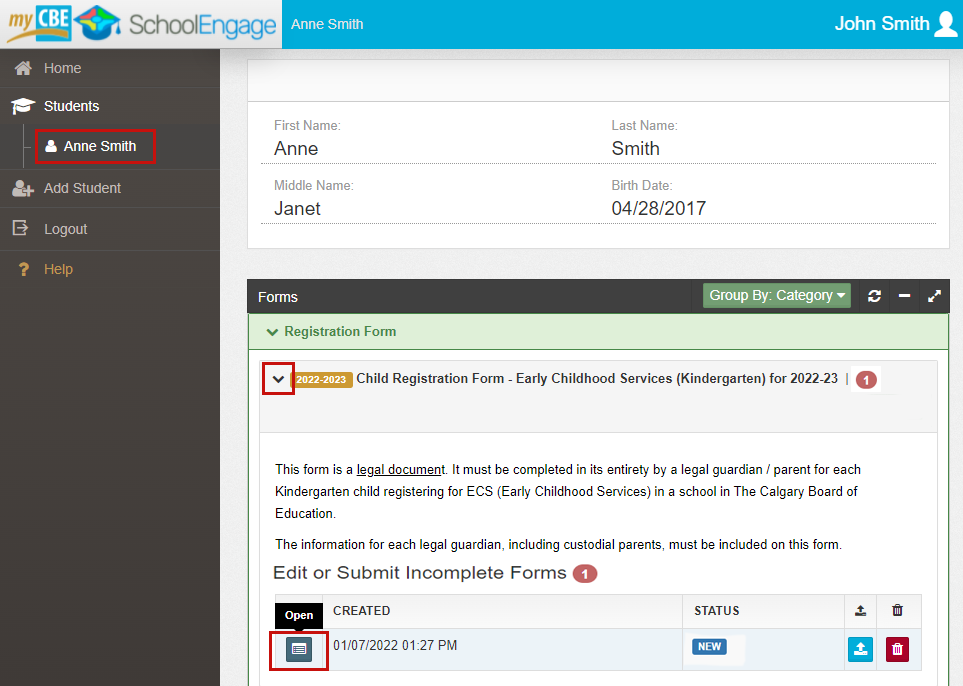
Step 6: Incomplete Form Notifications
Forms which are saved but not yet submitted will show a red notification on the SchoolEngage home page and on the Student page.
For example, you may see a red circle beside an incomplete form or the warning “form requires attention”.
- Click the
Open button in the form tools to edit and submit incomplete forms.
Note | The school will not be able to view or process the form until it has been submitted.

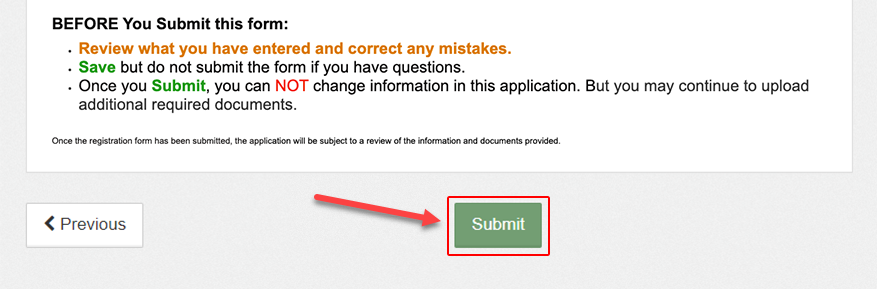
Step 7: Submit a Form
A form cannot be submitted until you reach the last page, where you will have an option to
Submit.
Note | Once you Submit, you can NOT change information in this form.
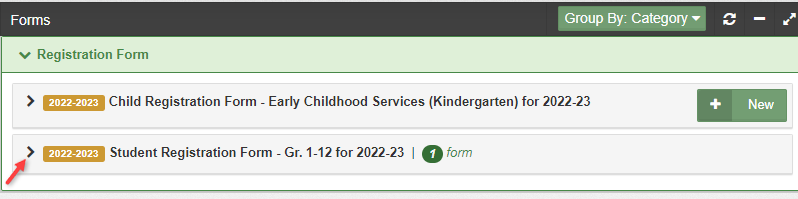
Step 8: Add Documents after Form Submission
If documents were not loaded during the initial submission of the form, they can still be added after the form has been submitted.
- Go to the Student page where the submitted form is displayed.
- Click on the blue up arrow icon
 to
Upload Files and follow the upload instructions.
to
Upload Files and follow the upload instructions.

Important | If a file is not provided with submission or if the uploaded file does not meet certain criteria (e.g., clarity, valid expiration) the school will request that the legal guardian / independent student book an appointment to provide these documents in person.

